The Iron Cupcake

Food, design, fun stuff.


6 Comments

My Date with Parker (get it?!)

A week ago or so, we bought this giant tub of dates at Costco (everything at Costco comes in a giant tub.) and it’s sat in our fridge ever since, as we look at them daily and think, “Now what?”  Well tonight, as Parker and I were looking for a way to pass the time together AND figure out what was for dessert, the answer came to me.  Date balls!

Jess and my Mom have recently been working on designing and editing (respectively) this series of textbooks called Cultures of the World.  Each book covers the culture of a specific country, including a section on food customs and recipes.  One of these that they finished a few weeks ago was on Saudi Arabia, where they have a LOT of dates.  Naturally, one of the recipes was for date balls. So tonight, in a stroke of genius, I pulled up Jess’s old design files for the Saudi Arabia book, found the recipe, and Parker and I got started.

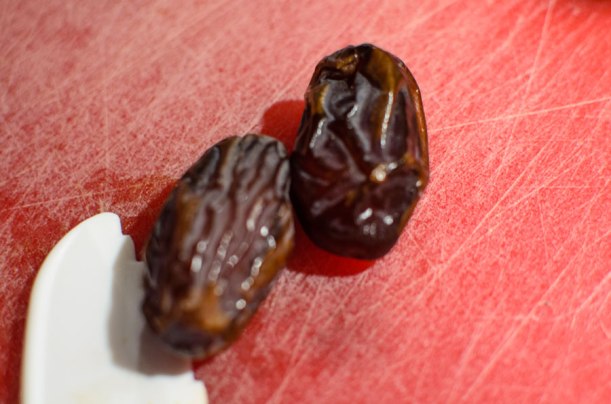
We started with (can you guess?) dates.

DSC_0608

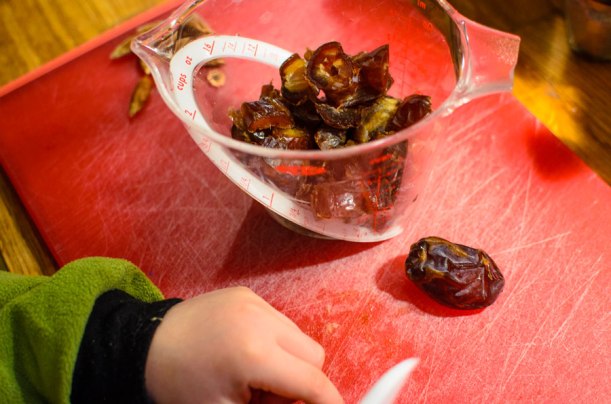
We pitted and chopped up enough to fill a cup and a half.

DSC_0612

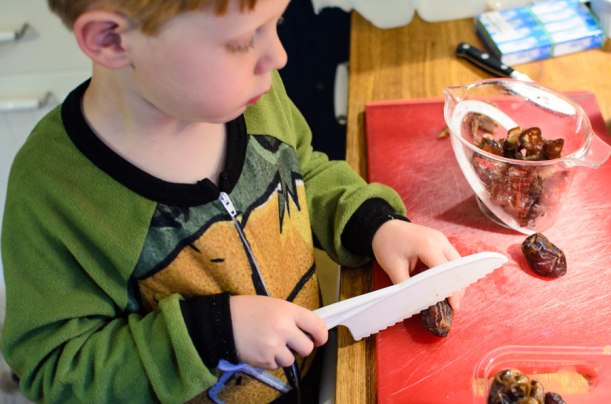
Park used a plastic knife.  Don’t freak out.

DSC_0613

And of course, he had to taste them.  This pleasant expression is just Parker with a face full of dates.

DSC_0610

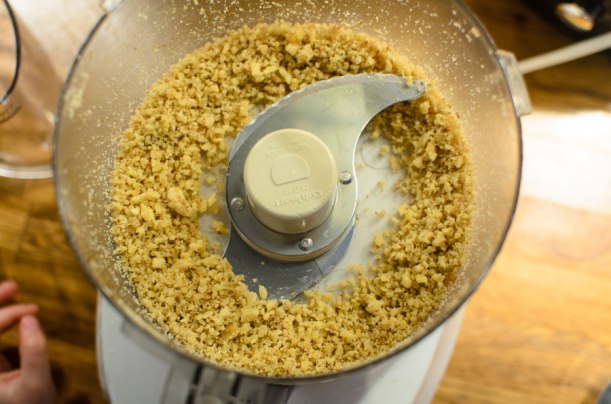
Then we chopped up a half cup of walnuts.

DSC_0615

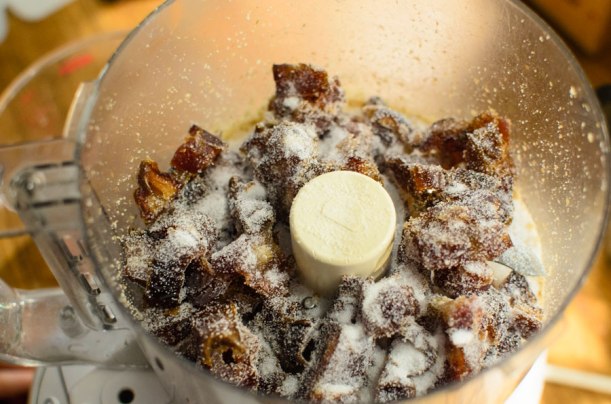
Followed by the dates, which (per the recipe) we added sugar to to prevent them from sticking to the blades and balling up.

DSC_0616

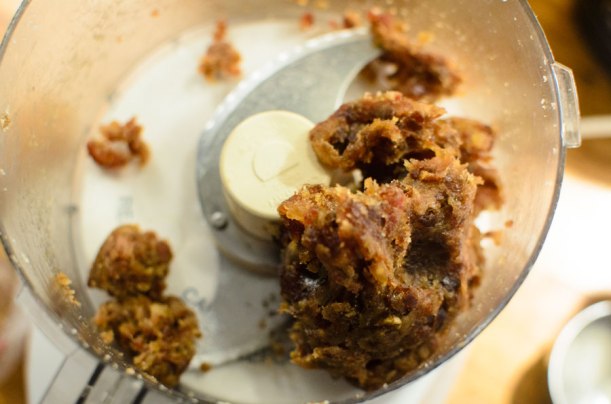
They balled up anyway.

DSC_0617

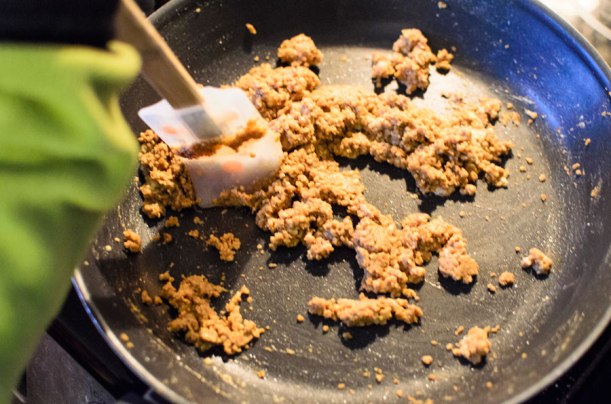
Then we had to toast the walnuts in some butter with some cardamom, brown sugar, and a little flour.

DSC_0619

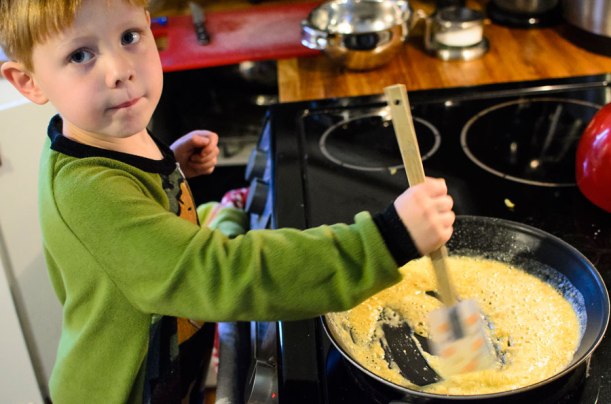
Parker was very eager to stir.

Once the flour was added, the mixture thickened up quite a bit.

DSC_0620

At this point I worked the date paste into this mixture.  And when I say “worked,” I mean it.  I had to switch to a heavy wooden spoon and really put some strength into it.  But it eventually came together.

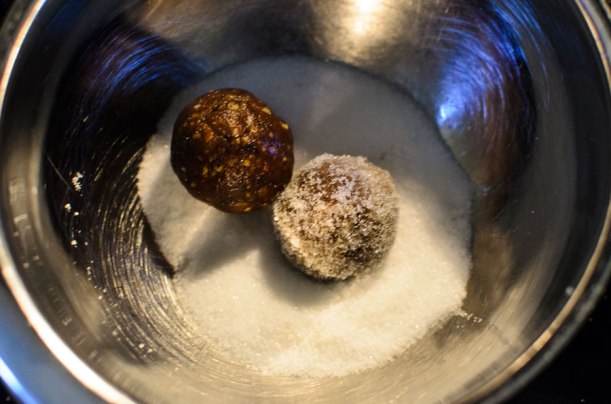
I let the stuff cool a little, then began the fun part: rolling it into balls, and coating with sugar!

DSC_0621

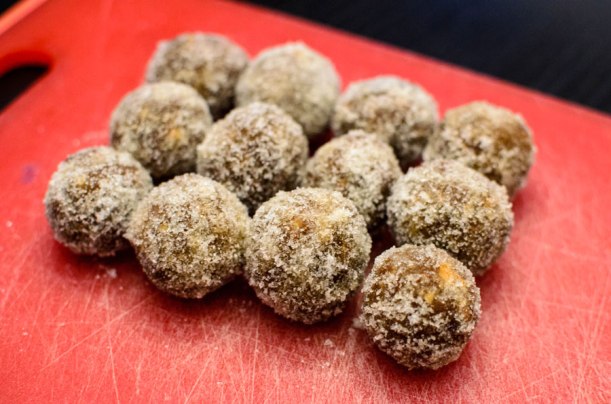
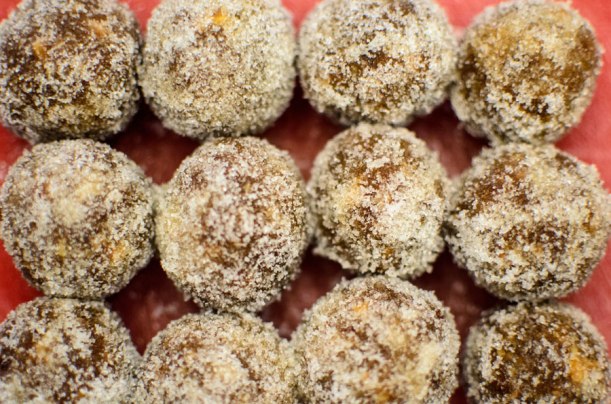
For all this, the recipe only made about 12 munchkin-sized balls.

DSC_0623

DSC_0625

DSC_0624

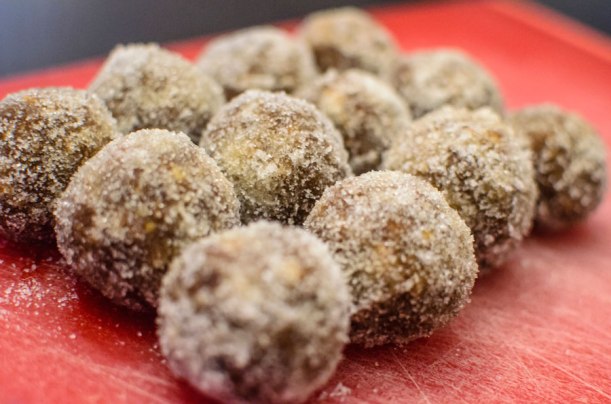
They sure are tasty.  And not ALL that much work.  All-in-all, a lovely date night with Parker and I.  (Ok, I know, trying too hard…)


1 Comment

Easter Eggs, Au Naturel

Oh, hello blog… it’s been a while.  Nice to see you again!

Alright, I’ll get on with it.  For a couple of years I’ve been intrigued by the idea of dyeing our Easter eggs naturally, with homemade dyes instead of food coloring.  Not that I have anything against food coloring, I just thought making the dyes from scratch could be cool.  I found a couple of articles online about how to do it, like this one and this one, and got some ingredients at Whole Foods.  I ended up using red beets, red onion skins, and yellow onion skins.

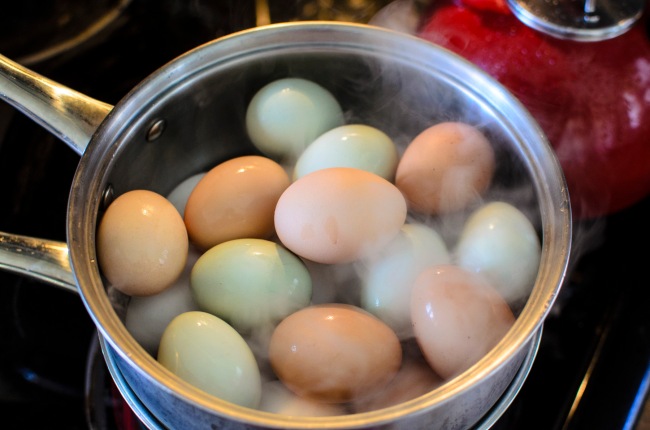
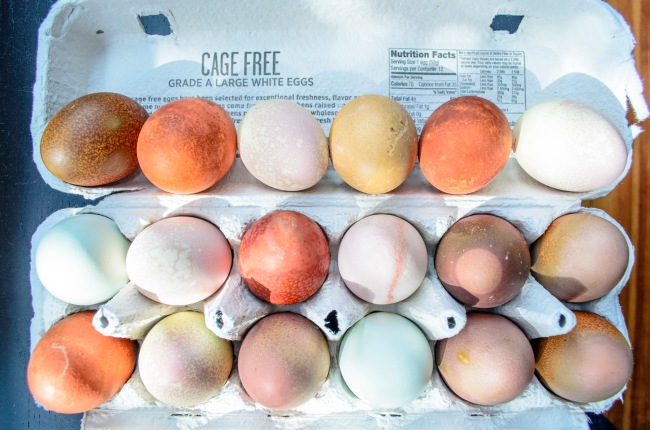
I used a dozen white eggs from Fresh Market, and a dozen eggs from our chickens, which already come in a variety of colors, from light brown to darker brown to blue-green.  To hard boil them, I steamed them rather than actually boiling them to prevent cracking and promote uniformity.  I followed instructions in this article.

Image

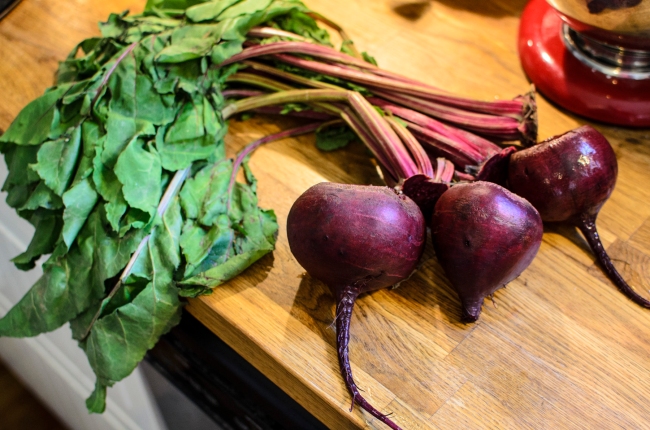
Here are those beautiful beets, which sure clean up nicely after a quick scrub in the sink:

Image

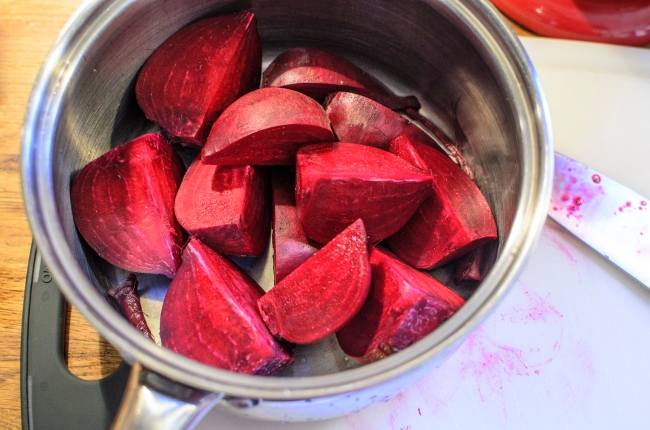
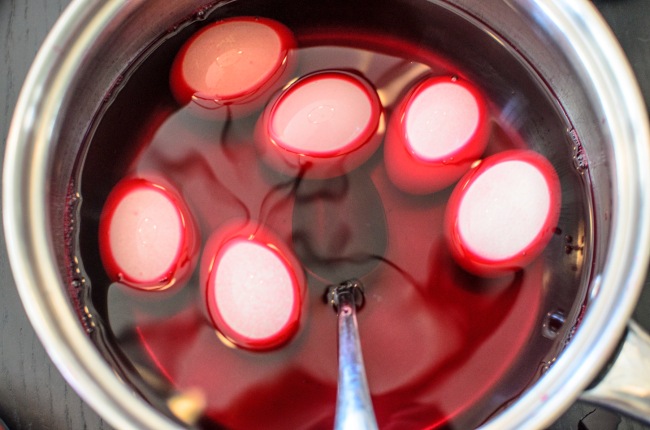
Then I quartered them, covered with water, and cooked them till done.  Then I strained out the beets and reserved the liquid.

Image


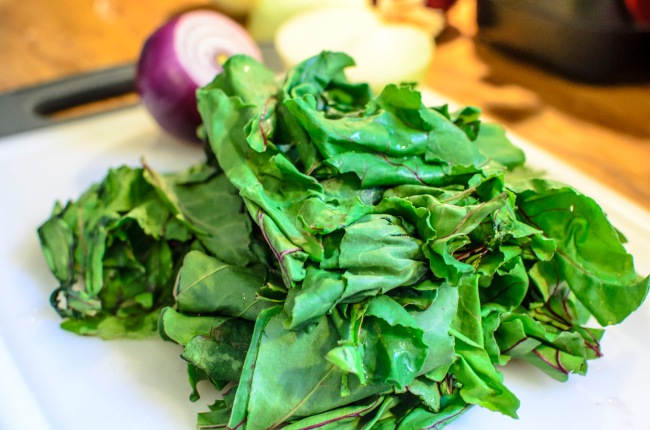
The greens are lovely, too.  I later sautéed them up with some garlic, olive oil and butter.  So good!

Image

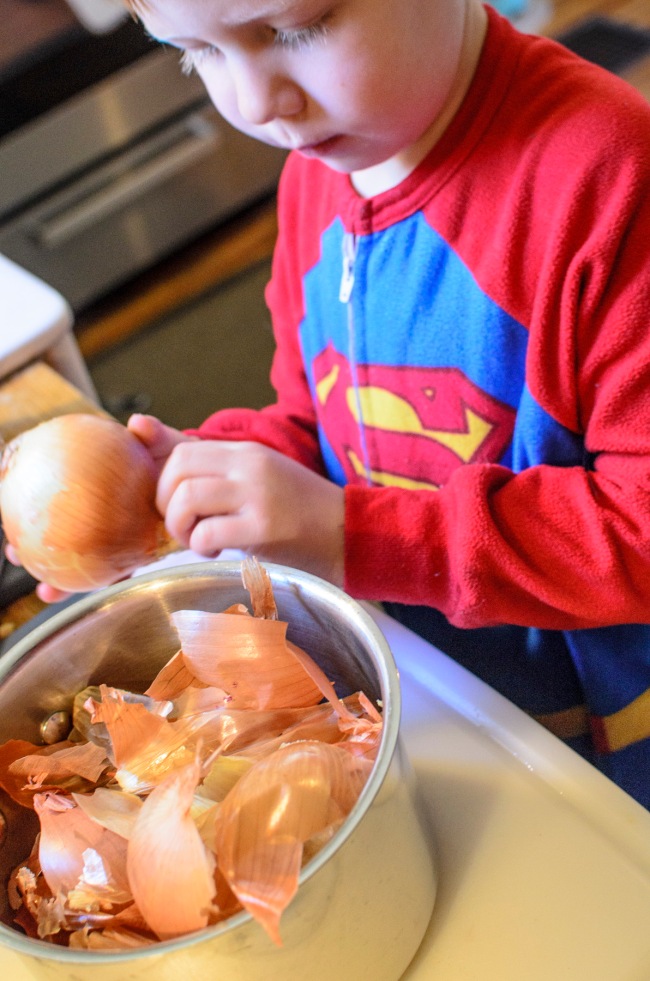
Parker helped me peel the onions.

Image

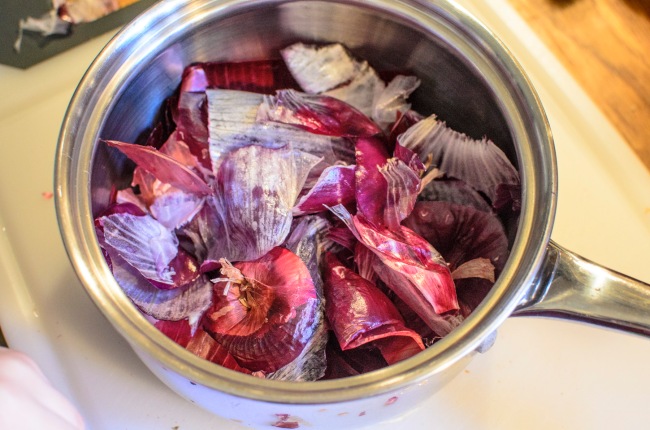
I covered these with water and simmered for 20 minutes or so.

Image

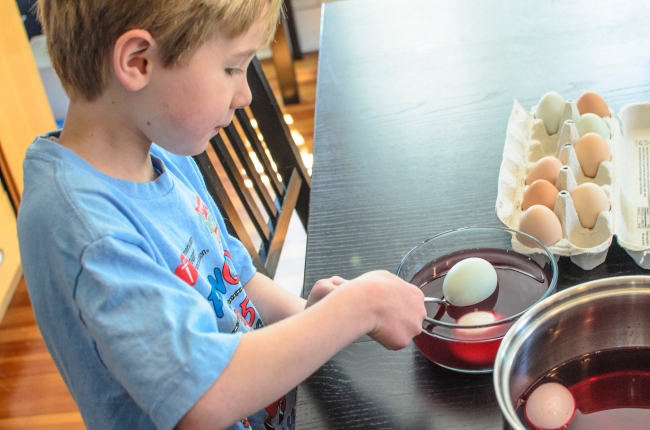
After the eggs and dyes had cooled somewhat, we dropped in the eggs.

Image

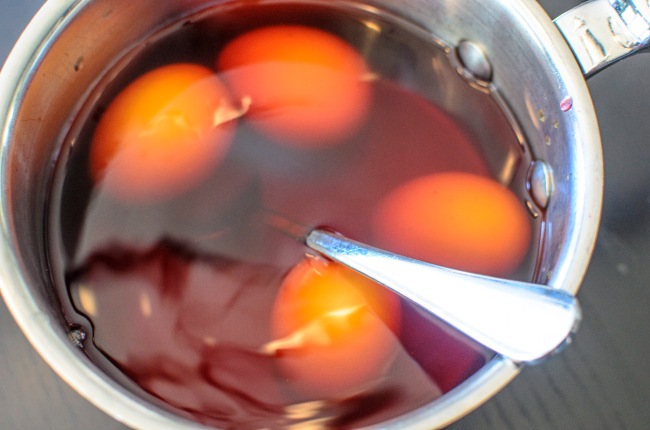
Unlike the regular food coloring method, you need to leave the eggs in the dyes for a while.

ImageImage

We went out and ran some errands and left the eggs in the dye in the fridge for a few hours.

Later, I took them out to dry on a rack.  I was really surprised how much color some of them took on!

Image

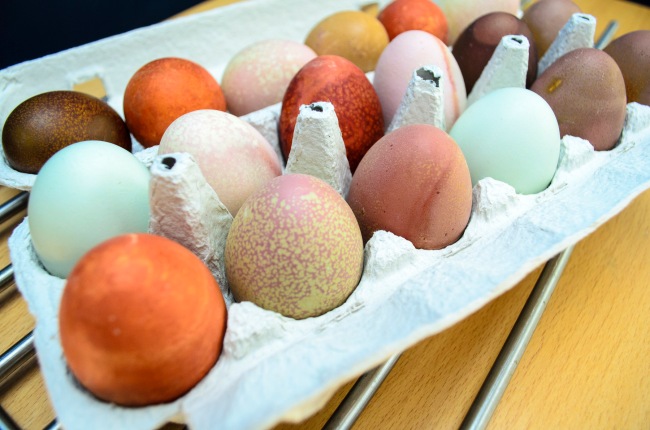
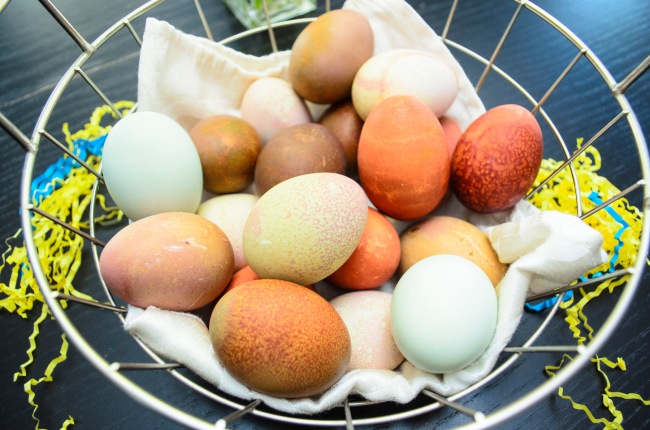
The textures and patterns were really cool.  The blue-green easter egger eggs only partially took on color, giving them a nice mottled look.  And the orange from the yellow onion skins turned out a lot more intense than I expected.

Image

I left a couple of the easter eggers’ eggs undyed since they’re such a lovely shade of blue-green already.  Those may still be my favorites!  After the boys had a lively egg hunt and checked out what the bunny brought, Kieran and I dove in and nommed on some of these lovelies.  Salt, pepper, nom nom nom.

Image

Maybe I’ll do this again.  If so, some other dye ingredients you can use are blueberries, red cabbage, turmeric, and red zinger tea. This was a little more work than our usual method, but it was fun and they look great!

Have you ever tried this?  Or do you have any other fun egg decorating techniques?  Lemme know!


4 Comments

Birthday Fritters

Today’s my birthday. Yeaaaayyyyy!

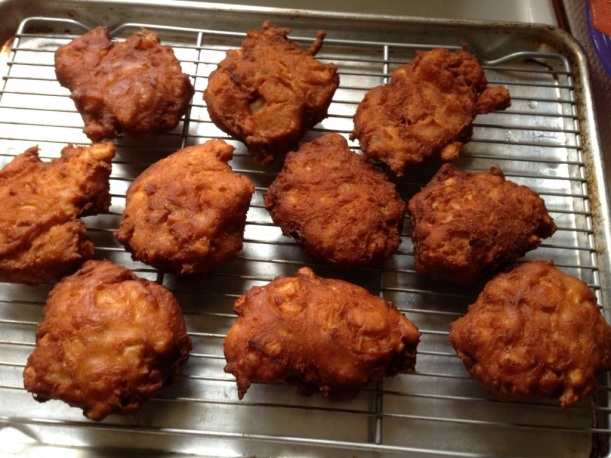
Normally my beautiful and awesomely talented wife would bake me a cake (something she’s very gifted at doing, hence the name of this site.) But this year, I saw that Cook’s Country (aka the America’s Test Kitchen folks enjoying a sunny vacation in Vermont) released an apple fritter recipe, I had to try it. Thus, in lieu of cake, I decided to make birthday fritters. (They’re basically little deep-fried cakes, so, close enough.

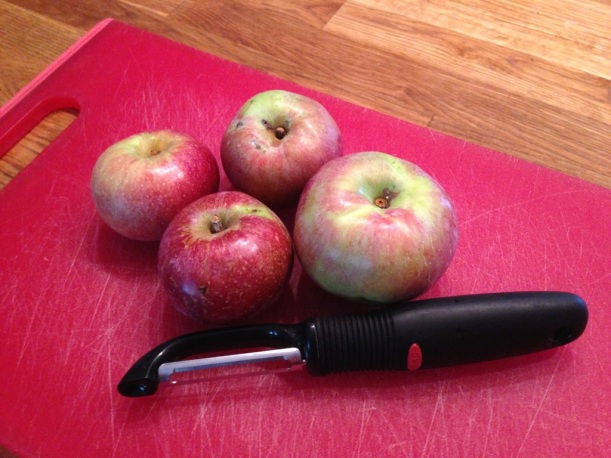
Again, I took these photos on the fly with my iPhone, in the interest of time. It called for Granny Smith apples, but we had an overflow of other types from our apple picking in the Hudson Valley adventure a couple weeks ago, so I used the tartest of those—Empires. They were quite a bit smaller than the grannies they used, so I used 4 instead of two.

20120929-235131.jpg

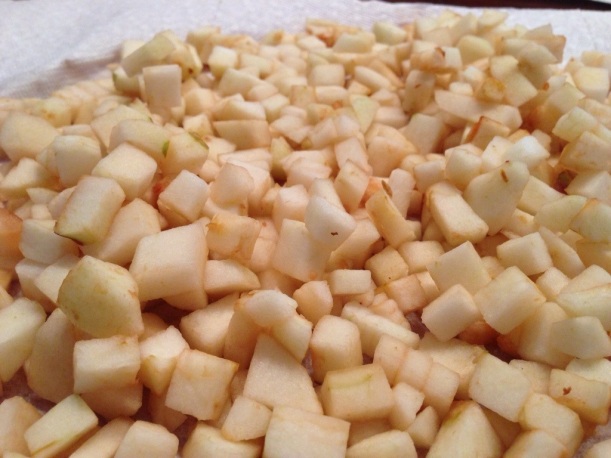
Peel ’em, chop ’em into 1/4 inch pieces, and dry on paper towels.

20120929-225146.jpg

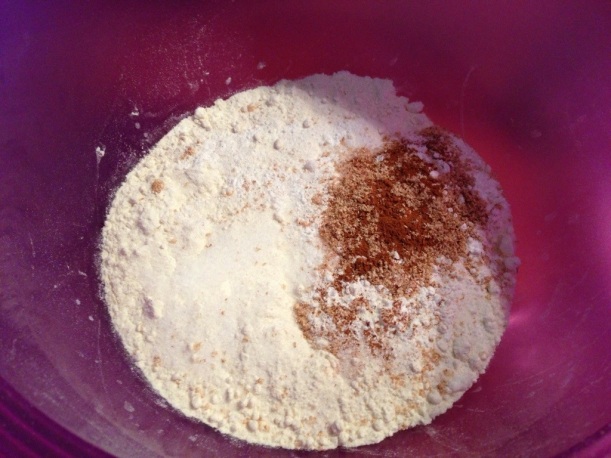
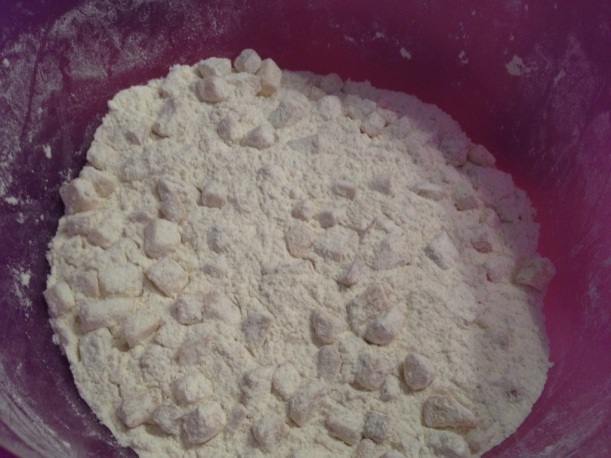
Mix up the dry ingredients: flour, sugar, baking powder, salt, cinnamon and freshly ground nutmeg.

20120929-225311.jpg

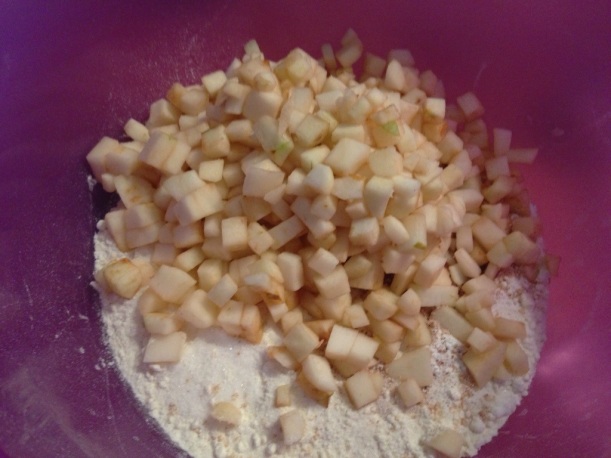
Throw in the apples,

20120929-225349.jpg

And toss to coat with the dry ingredients. This is meant to soak up any more moisture from the apples and prevent wet fritters.

20120929-225520.jpg

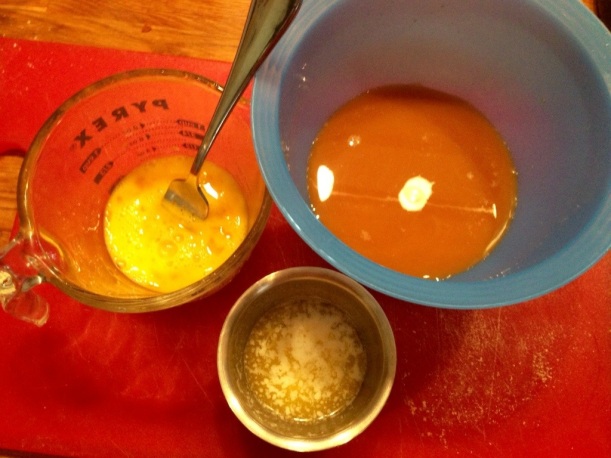
Then put together the liquid portion, which is apple cider, eggs and melted butter.

20120929-225641.jpg

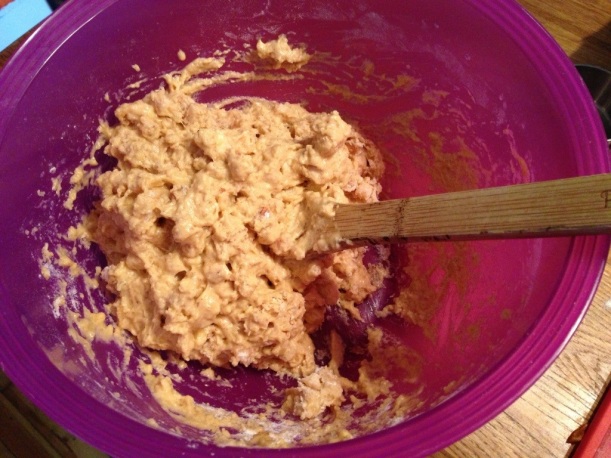
Toss it with the apple/flour mixture till it’s sort of pasty and sticks together well.

20120929-225816.jpg

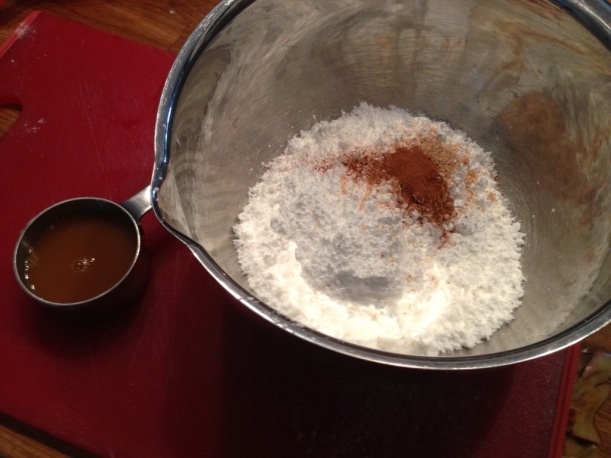
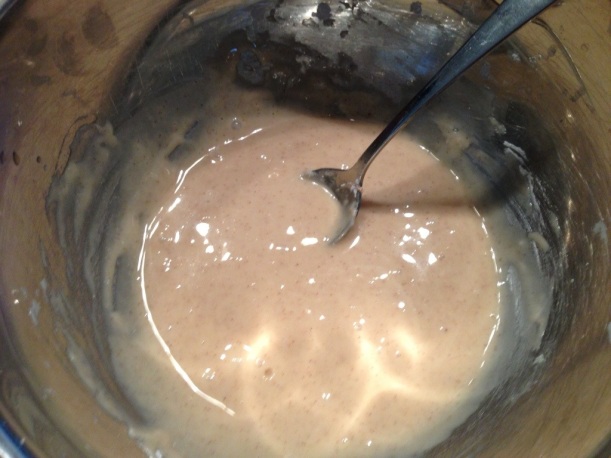
Meanwhile, assemble the glaze. Confectioners sugar, cider, cinnamon, and nutmeg.

20120929-225945.jpg

Mix till it’s pretty and looking like what it is: autumn-flavored liquid sweetness.

20120929-231955.jpg

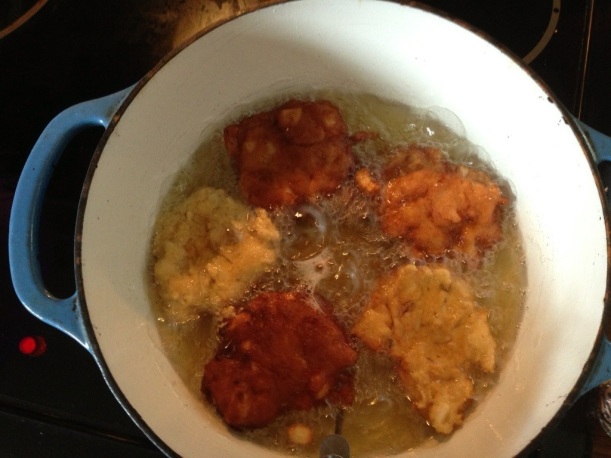
Now the fun part, and you need to work pretty quick here. Heat some oil in a Dutch oven to 350, and fry the fritters in 1/3 cupfuls. Once you get them in the oil, you need to press them down with the back of a spoon so they flatten out a little and cook evenly. Just a couple minutes per side and you’re good.

20120929-230350.jpg

Then cool on a rack for a few minutes,

20120929-230425.jpg

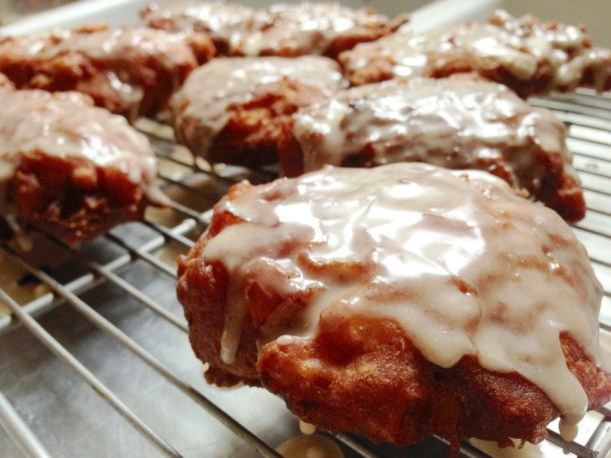
And add a heaping teaspoon of glaze into each one.

20120929-230513.jpg

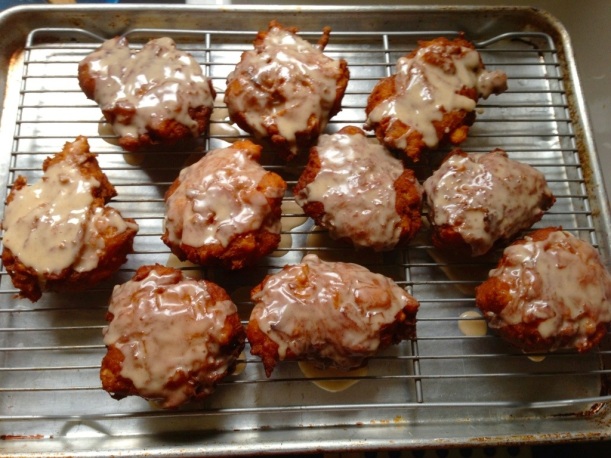
Feast your eyes.

20120929-230600.jpg

They’re basically donuts, minus the holes, with big bits of apple in them. And they are seriously good, and just what I wanted on this lovely day in early autumn. Happy birthday to me!

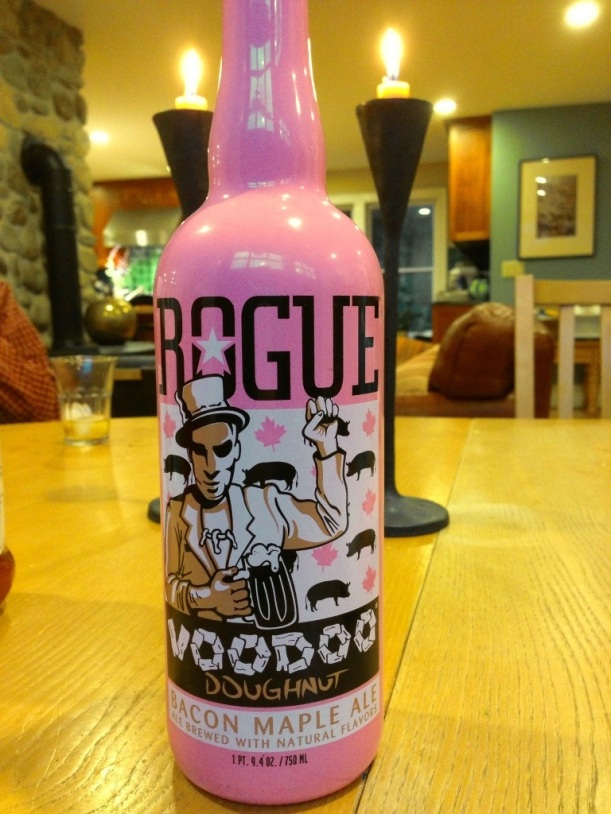
Speaking of donuts, and my birthday, my parents gave me this lovely vessel of liquid bliss:

20120929-231204.jpg

Yes, that says “Bacon Maple Ale.” It’s got an image of a dude drinking a frosty pint in front of a flag with pigs and maple leaves. And it’s presented in a piggie-pink bottle. This is going to be fun.


Leave a comment

Pesto Omelette

After letting the chickens out of their coop this morning, I wandered into the garden and thought to myself, “Hmmm. not much left.  What can I make for breakfast?”  Then I spotted the gigantic columnar basil plant and thought of pesto.  I’m eating a lot of eggs these days, considering they keep showing up in the back yard, so thought maybe a pesto omelette would be interesting, but there’s a chance it could also be weird and gross.  Having just gotten a new iPhone, I’ve been playing with Siri a lot.  So standing there in the garden, I asked her: “Siri, tell me about pesto omelettes.”  She did a quick web search, and it turns out, it’s a thing!  So I grabbed some basil and a leaf of chard (thinking it couldn’t hurt to throw in there too,) and set off to cook.

Since this was a breakfast on a work day, I didn’t bother using my fancy DSLR or worrying about lighting too much.  I just snapped off a few shots with my phone.  Not the greatest pics, but not bad for being in a hurry!

I started with this much basil and chard:

I washed it, chopped up the chard, pulled the basil off the stems, and threw it in the food processor with some walnuts, good California olive oil, and salt.

Gave it a whirl and remembered pesto usually calls for parmesean too, so I grated some in after the first spin.

Then I made a quick two-egg omelette with my new 13-dollar non-stick pan and added the pesto.

I rolled it off onto a plate and topped with a little more pesto and parm.

And served it with some pinto beans cooked with some EVOO and smoked sea salt.  (Beans?! Yep, I’m watching my carbs at the moment, and beans make for a great breakfast side dish.)

It was damn good, if I do say so myself.


Speaking of my new iPhone, just after letting the girls out this morning, I thought I’d play with the new panorama feature in the camera app.  It works remarkably well for something so automated!  It does distort things a little, making it look like our house and our neighbor’s are right next to each other, but cool none the less.  Pay no attention to the kids’ toys strewn about the yard.  Or the rectangles of bare lawn where the chickens scratched up the grass!


Leave a comment

Caramel Apple French Toast

We had an absolutely great day yesterday. On a whim, I suggested that we drive to Newburgh, NY, just over the Hudson River, to Lawrence Farms Orchards for some apple picking. This was such a great place, with not only apples, but pick-your-own broccoli, cabbage, grapes, sweet & hot peppers, kale, winter squash, pumpkins, and more. We picked about $75 worth of fresh fruit and veggies!
But now we’ve got to use it all. So this morning, I made caramel apple french toast, adapted from this Martha Stewart recipe. That recipe called for maple syrup to be mixed in with the apples, which I was fresh out of, so I just used sugar, and it was still awesome.

I started with a nice loaf of Challah, which was easy to find at TJ’s since this weekend begins Rosh Hashana.

Slice up a few apples and cook them in a skillet with some butter.

Get the bread soaking up that egg mixture,

;

Get the apples good and caramelized, and mix in some sugar, a little water, and some cinnamon.

;

Give the bread a few minutes on each side on a hot buttered griddle,

;

And serve it with the hot apples and a dollop of fresh whipped cream.

It was sweet, crispy on the outside and custardy on the inside, and filled the house with the smell of cinnamon and apples. Perfect for an early autumn day. A good and hearty breakfast for all. (Parker was a fan.)


Leave a comment

The Great Buckwheat Pancakes Rerun!

Wife had a great idea the other day: since it’s kind of a big deal to make pancakes, and we don’t have time to do it all the time, why not make extra and freeze them?  So I made the same buckwheat pancake recipe as last time (only I didn’t have buttermilk, so I used regular milk and used exclusively baking powder to make up for the lack of acid in the milk).  I made a double recipe so we’d have extra. They turned out great, and when we were done we had a good 8 pancakes left over.  I cooled them on a rack, and put them in ziplock bags with squares of parchment paper between each to keep them from sticking.  This works remarkably well!

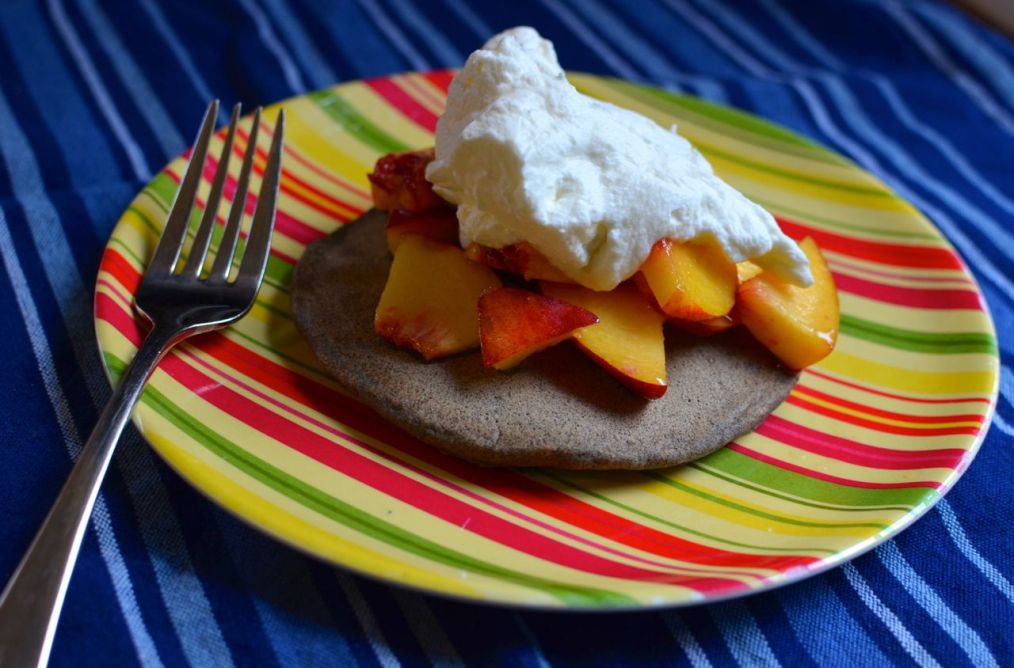
For this morning’s Pancake Rerun, I pulled them out of the freezer and threw them in the toaster oven on the highest “toast” setting.  Then chopped up some fresh local peaches, (I LOVE peaches when they’re ripe and in-season), whipped up a quick batch of whipped cream, and that’s it!  Instant (well, near instant) pancake nirvana.  And I didn’t wreck the kitchen (as I have tendency to do when I cook.  I’m working on it.)

Image

And in the spirit of the season (Pun!), I was perusing Pinterest and found this:

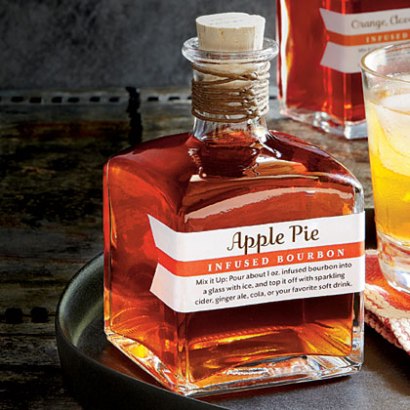
Apple Pie Infused Bourbon

Image

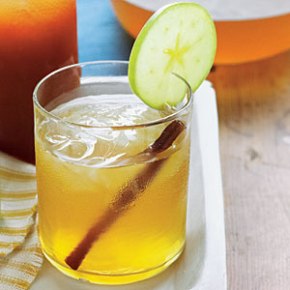
Not only does that look crazy good, but it sounds super easy to make.  I’d probably use an inexpensive bourbon like Jim Beam, since I wouldn’t want to alter the flavor of high-quality bourbon.  You could have it on the rocks, or with a bit of club soda, or make lovely autumn cocktails, like Apple Pie Bourbon Sweet Tea.

Image

Yes please.


2 Comments

Mile-high Apple Pie

I’ve been wanting to bake a really good apple pie for a while now.  There are so many varieties to choose from, but I wanted one that wasn’t too gloppy and was jam packed with apples—ones that really maintain their shape and a bit of bite after baking.  After some recipe researching, I decided to go with the Deep-Dish Apple Pie from one of my favorite cookbooks, America’s Test Kitchen: The Complete TV Show Cookbook.

I love all things ATK, including Cook’s Country and Cook’s Illustrated Magazine.  They rarely steer me wrong.  (I even listen to the America’s Test Kitchen Radio podcast.  Obsessed much?)  What I love about the show, and the cookbook, is that they give a detailed explanation for WHY a recipe works.  The sort of information that, over time, can help you to cook without a recipe.  (But, as I’ll explain below, after this experience, I plan to ALWAYS follow a recipe when baking!)

The recipe for “Deep Dish” apple pie called for 5 lbs of apples.  Which worked out to be 11 apples.  At approximately 8 servings per pie, that’s more than one and a third apples per serving.  Off to a good start!  The recipe calls for using half tart apples and half sweet, so I used a combination of granny smiths, golden delicious, and braeburns.

I started with a recipe for “Foolproof Double-Crust Pie Dough” from the same book, which uses a mixture of butter and shortening, as well as a mix of water and vodka.  The vodka is supposed to keep the crust from getting tough, since apparently flour can’t form gluten in alcohol.  Huh!  Anyway, I’m sure it WOULD have been foolproof if I had just stuck to the recipe, but I decided to use pastry flour instead of the all-purpose flour it called for.  This caused the dough to be VERY wet, almost like thick pancake batter.  This made it very hard to work with.  (Jess thinks it may have also been due to the very high humidity, which was about on par with a humidor. In a sauna. In monsoon season.) For the top crust I worked in some extra flour to compensate, but I may have ended up making it a little tough.

I used our fancy schmancy apple peeler doohickey, which peels, cores, and slices an apple in approximately 7.6 nanoseconds.  And it leaves you with an 8-foot-long continuous string of peel, which is pretty fun.  I highly recommend picking one of these up if you deal with apples more than once a year.  I think ours was nineteen bucks at Bed Bath & Beyond.

Anyway, another interesting thing about this recipe is that it has you precook the apples.  I don’t have a ton of experience baking pies, but according to ATK, just stuffing a big pie like this full of fresh apples will cause them to shrink as the pie bakes, creating a gaping cavern under the crust.  So this process reduces the moisture and helps the apples’ natural pectin to set up, creating more body later.  After you cook them on the stove top with some sugar, cinnamon, and lemon zest, you spread them out on a baking sheet to cool.

Drop them into your pie pan with the bottom crust in place,

Then pour over a little bit of the reserved juice that cooked out of the apples on the stove top and put on the top crust.

Add some slits for air to escape during baking, give it an egg wash, sprinkle with sugar, and bake for almost an hour.

Perdy, ain’t it?

And viola!  Beautiful, aromatic apple pie, with tons of apples per slice.  Whip up some fresh whipped cream,

and you’re good to go.  I never use a recipe for whipped cream, since it’s about as easy as boiling water:  Pour some heavy cream into your kitchenaid/blender/food processor/bowl with egg beater or even hand whisk, (about a cup in this case,) a few tablespoons of sugar, and a small drizzle of vanilla extract, and whip until it’s done.  (Just don’t over whip, or you’ll get butter.)

Was this pie perfect? No.  It was fairly labor intensive, and somehow the “foolproof” crust foiled this fool.  And while I prefer a pie with more obvious apple consistency than mush, this one could have used a LITTLE more mush.  But overall, I’d say it was a darn good first attempt.  And best of all, my fans loved it.

Speaking of America’s Test Kitchen, I came to find out that Robert Papp, the cover illustrator of my Cal Ripken, Jr. books is also the painter of the beautiful covers of Cook’s Illustrated.  I told him I’m a big fan of the magazine and all things America’s Test Kitchen, and he sent me two signed prints!  Pretty awesome, huh?  You can buy prints (including stretched canvas) here. They look darn good hanging on my wall.


2 Comments

THIS is what Summer tastes like.

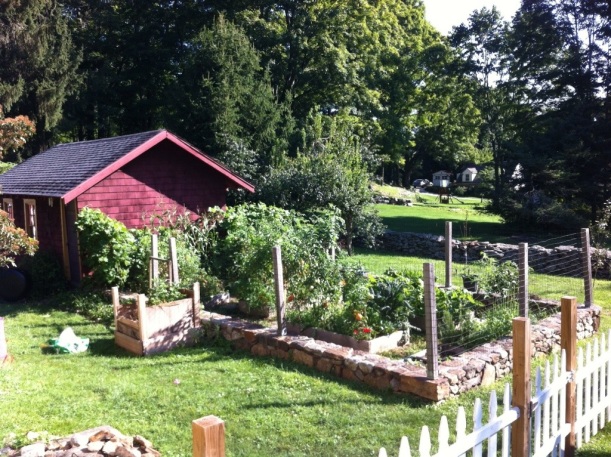
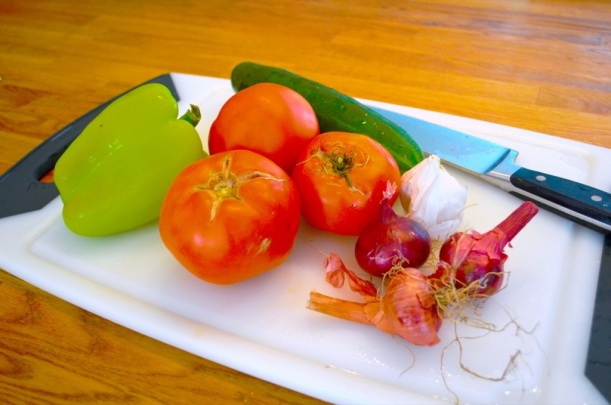
My lovely wife Jess has been SERIOUSLY rocking the garden this year. I can take no credit— she is the Goddess of the Garden. But I eat it. 🙂 I had been wanting to make something that would really show it off, so I decided upon gazpacho, the cold Spanish soup that’s essentially a liquid salad. I found this recipe from Ina Garten, which I was able to make entirely from the garden, save for the garlic, oil & vinegar, and salt & pepper. It calls for a tomato juice base, but I didn’t have any. Someone in the comments mentioned that you can substitute more tomatoes and a cup of water, so that’s what I did.

First, Jess’s Godly Garden, for reference:

20120819-222738.jpg

Now, start with some lovely veggies like these. (I actually used a couple more tomatoes than this.)

20120819-223116.jpg

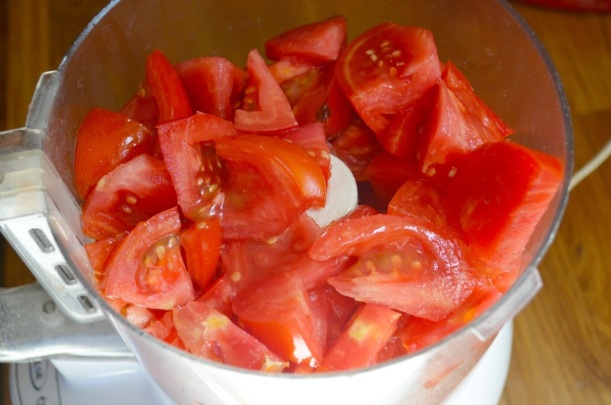
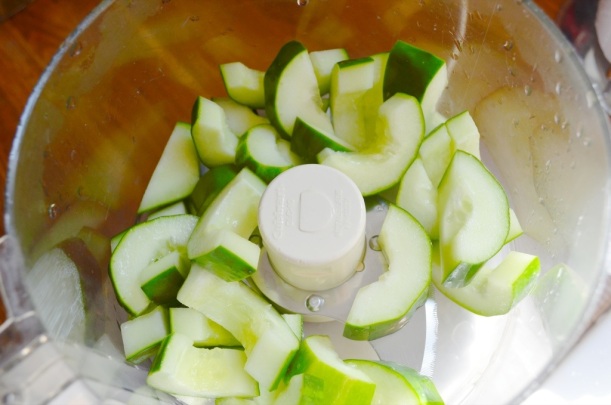
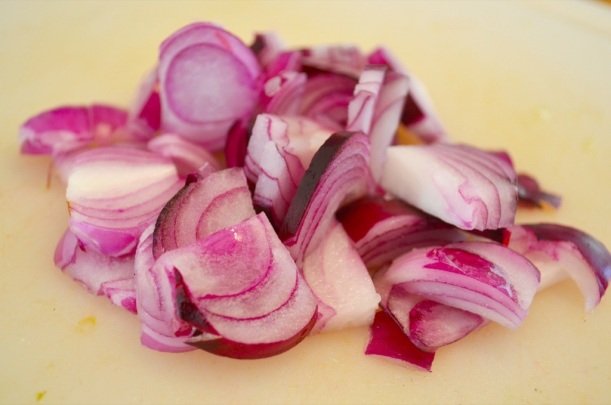
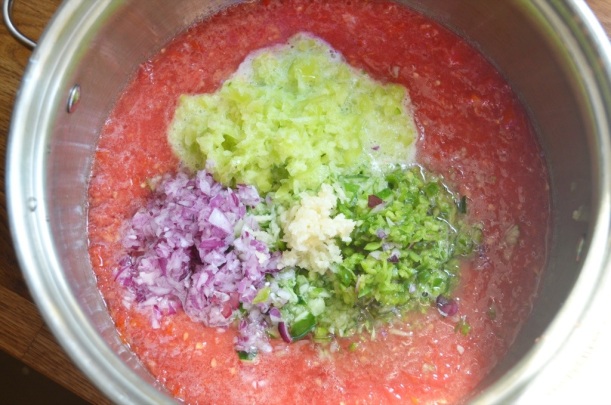
Start chopping them up into chunks and buzz ’em in the food processor.

20120819-223131.jpg

20120819-223143.jpg

20120819-223152.jpg

Put ’em all in a large bowl or pot,

20120819-223200.jpg

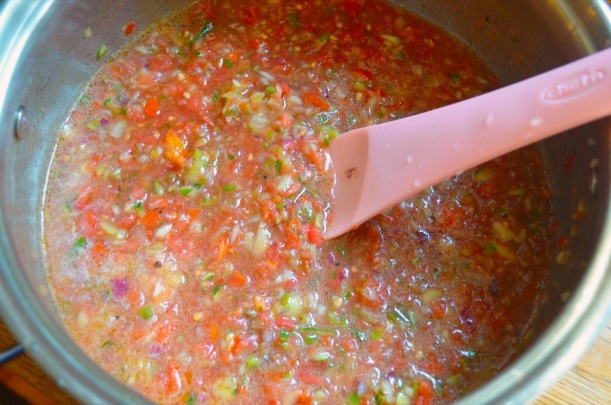
…and mix it all together with the aforementioned salt, pepper, oil and vinegar. I also added some fresh basil and parsley from the garden.

20120819-223212.jpg

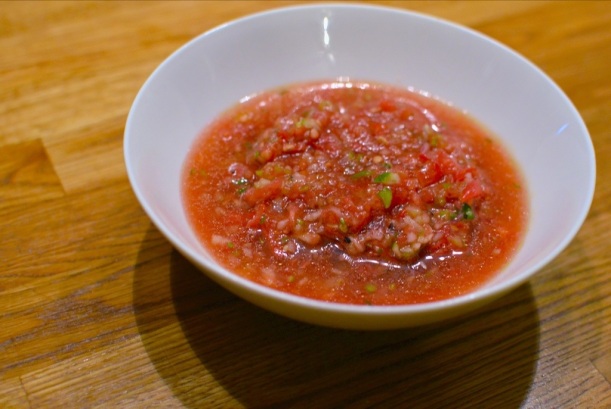
Chill for a few hours, and you have lovely soup! It’s cool and fresh and just tastes like summer!

20120819-223227.jpg

Unless summer tastes like BBQ pulled pork on the charcoal smoker, which I also made. But when I’m feeling virtuous, summer tastes like garden gazpacho. 🙂


3 Comments

The Great Buckwheat Experiment

I’m still getting used to this blogging thing, but my friend Channing is cheering me on.  She knows a thing or two about the subject, as she runs the super-fun food and lifestyle blog Channingosity. This week, she posted about these really awesome-looking Chunky Monkey Buckwheat Pancakes.  I was totally into it.  But she mentioned to me that she thought the recipe could use some tweaking.  So, having always been interested in trying buckwheat, I made it my mission to give it a go, adapting it with some of my go-to pancake techniques.  (I may have over-tweaked, but for me, cooking is all about experimentation.)

Here’s Channing’s original ingredients list:

1 cup buckwheat flour (I used organic Arrowhead Mills)
1 tsp baking powder
2 tbsp organic cane sugar (or white or sugar in the raw)
1/2 tsp salt
cinnamon, couple dashes
nutmeg, couple dashes
1 egg, beaten
1 cup almond milk (or any preferred milk)
2 tbsp extra virgin olive oil
1 tsp bourbon vanilla extract
1/2 ripe banana sliced very thin, almost shredded
1/4 cup semi sweet chocolate chips
1/4 cup raw walnuts, chopped or broken into small bits
Sliced cold butter, for cooking (or olive oil or cooking spray)

Channing thought the main thing that needed tweaking was that her recipe was 100% buckwheat, which may have led to them being a little flat.  I know from experience with baking that going 100% whole grain is attractive from a health standpoint, but usually going 50/50 with whole grain and all-purpose flours make for a lighter end result.  So here’s my version of her recipe with tweaks marked in red:

1/2 cup buckweat flour (mine was from Bob’s Red Mill)
1/2 cup all-purpose flour
1/2 tsp baking powder
1/2 tsp baking soda (more on this below)
2 tbsp sugar
1/2 tsp salt
cinnamon, couple dashes
nutmeg, couple dashes
1 egg, beaten
1 & 1/4 cup buttermilk
2 tbsp melted butter
1 tsp bourbon vanilla extract
1/2 ripe banana sliced very thin, almost shredded
1/4 cup semi sweet chocolate chips
1/4 cup raw walnuts, chopped or broken into small bits
Sliced cold butter, for cooking (or olive oil or cooking spray)

As you can see, in addition to splitting the flour into 50% buckwheat and 50% AP, I made a few other adjustments.  First, this was for my lovely wife Jess’s birthday breakfast.  So I left out the cinnamon and nutmeg, as is her preference. (She has a very, ahem, *sensitive* pallet.)  I also made them regular chocolate chip pancakes for her, forgoing the bananas and walnuts that made Channing’s version “chunky monkey”.  But this should have little effect on the base recipe.  Then, rather than using almond milk, I used buttermilk for a little twang.  Since buttermilk is naturally acidic, I adjusted the leaveners by reducing the baking powder (which contains its own acid) to a 1/2 tsp and added 1/2 tsp of baking soda (with no acid) to make up for it.  I switched the olive oil for butter, because, well, BUTTER!  When I mixed everything together, the batter was quite thick, so I upped the amount of liquid.  (In fact, though I didn’t mention it in the ingredients, I added a splash of regular white milk in addition to all the buttermilk, because the buttermilk was extremely thick as well.)  The only other thing I did was something I discovered in another pancake recipe somewhere along the line: I beat the egg white to soft peaks before adding it to the rest of the recipe to force some little air bubbles into the batter and hopefully cause the ‘cakes to puff up a little extra.

Here we go…

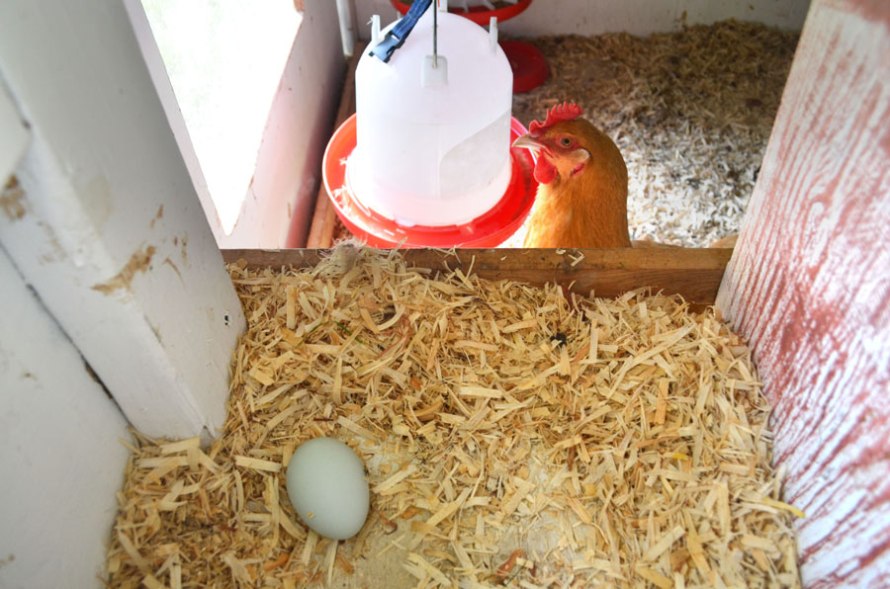
First, I grabbed an egg from the chicken coop.  Thanks girls!

Image

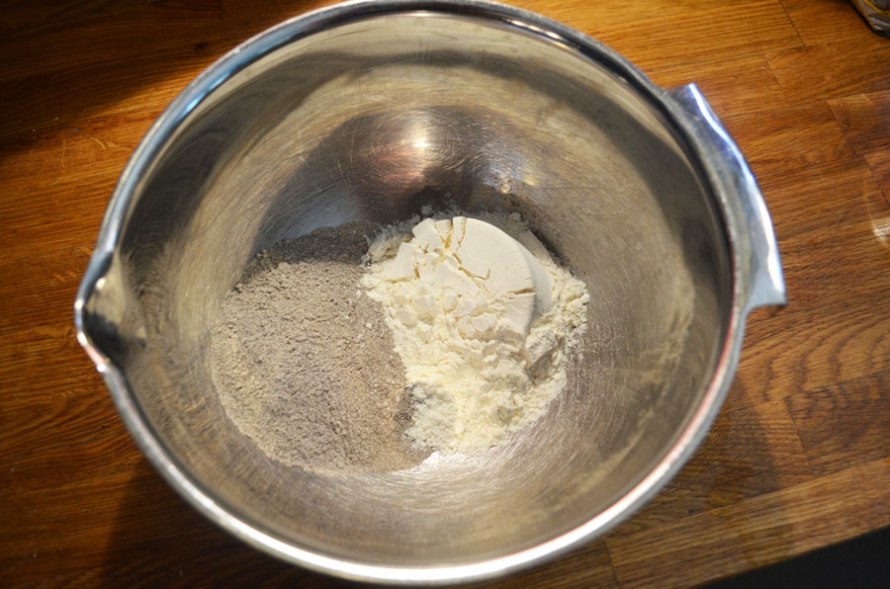
Then put together the dry ingredients.

Image

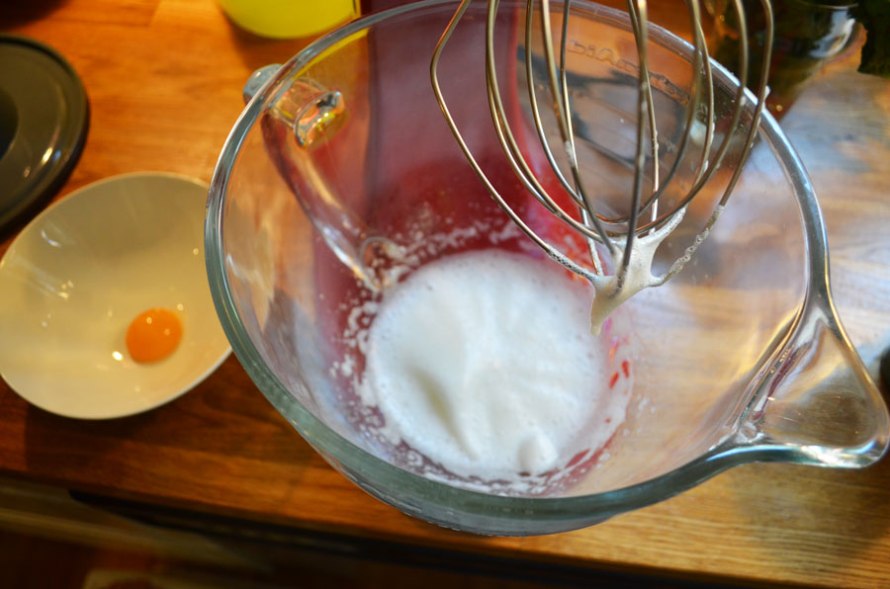
Beat the egg white to soft peaks:

Image

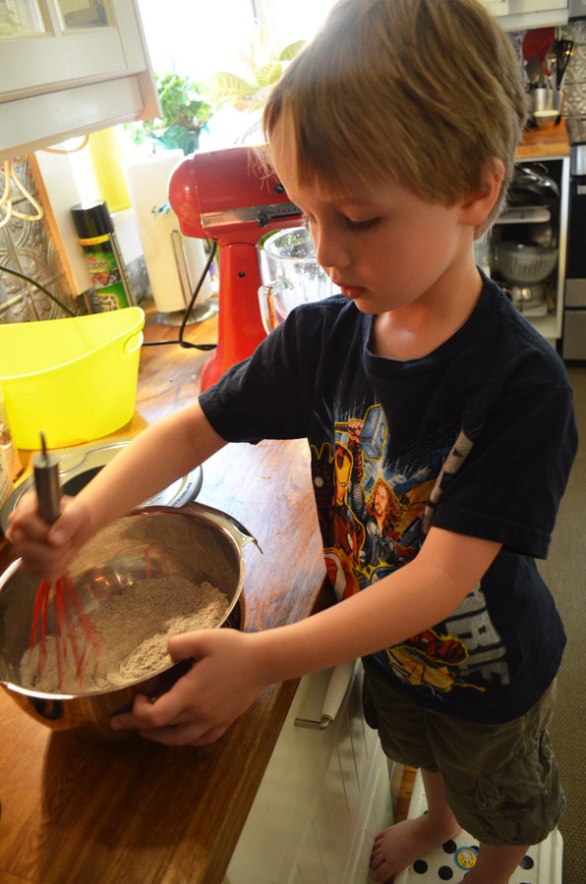
Getting a little help stirring is always nice:

Image

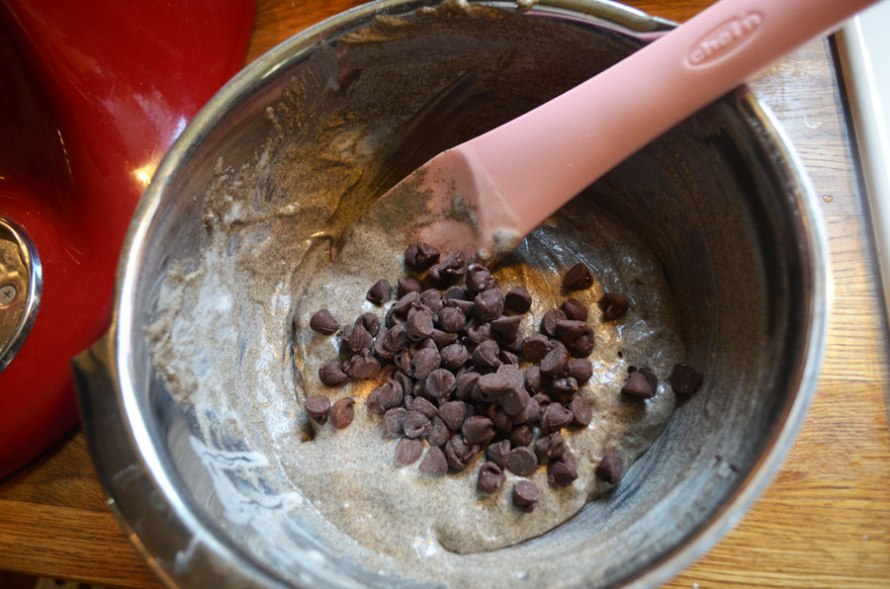
Add delicious Ghiradelli chocolate chips:

Image

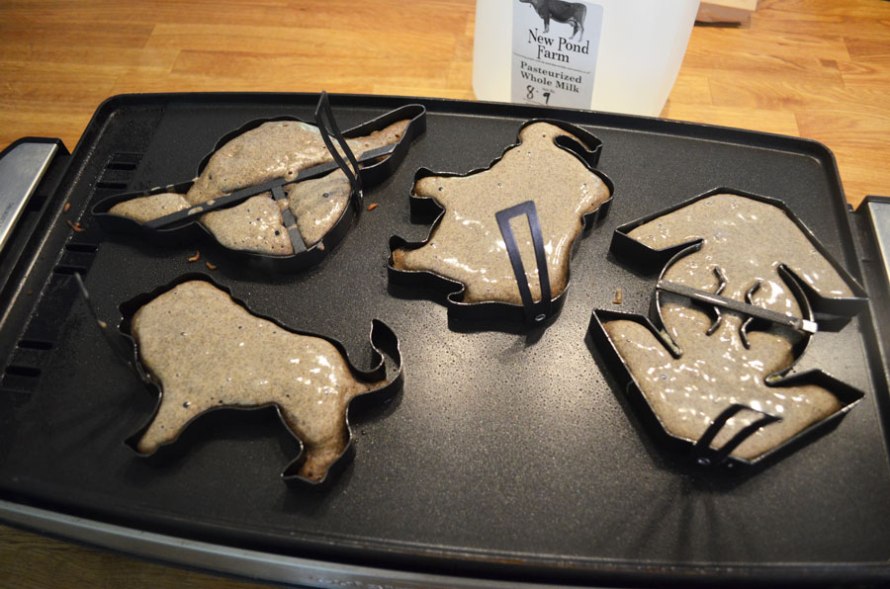
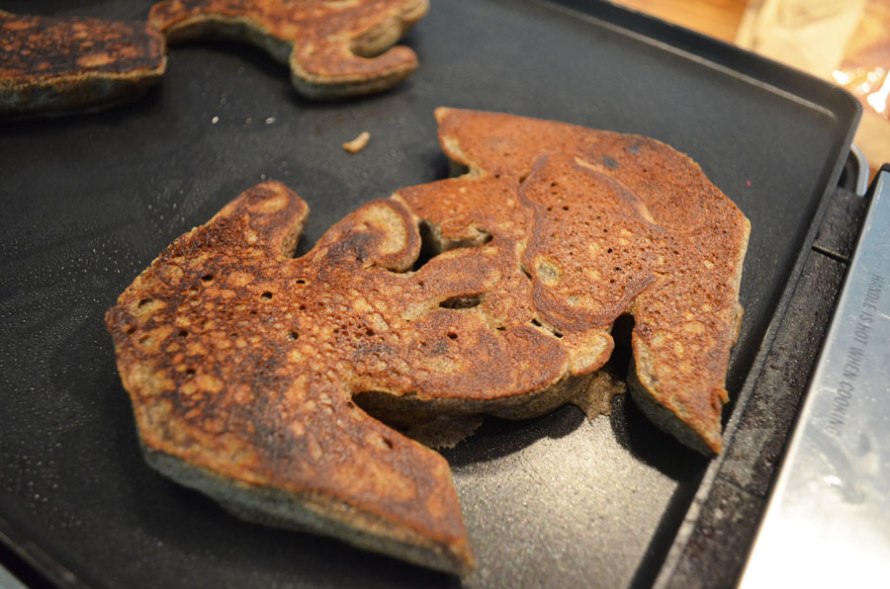
Star Wars and circus animal pancake molds optional. If it were up to Jess, she’d have a different pancake mold for every day of the year.  (I however, prefer classic circles.)
Image

Rising up nicely:

Image

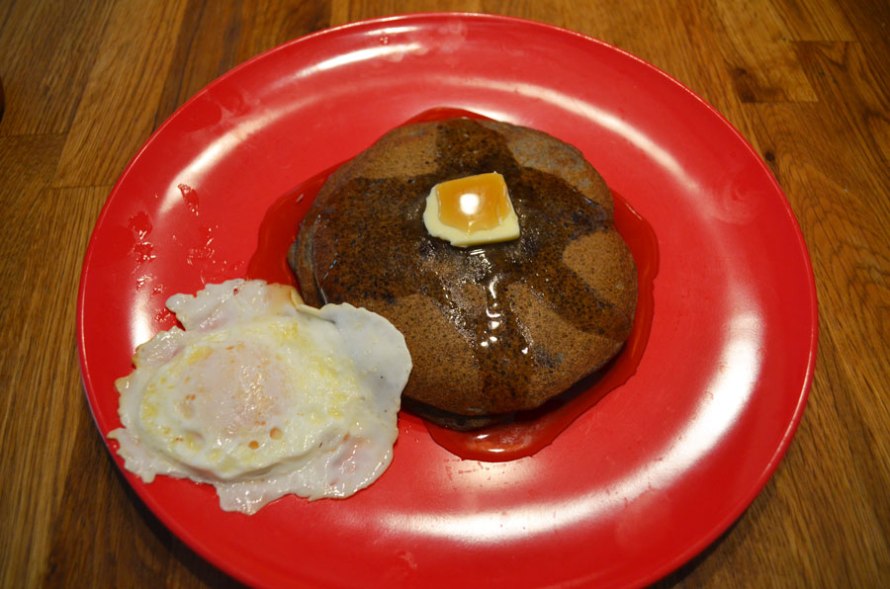
Add some syrup, butter, and a fried egg over-easy for good measure, and you’ve got yourself a hell of a meal.  (Mmm, bacon would’ve been good too.  I’ve already made clear my feelings about bacon. Next time…)

Image

Verdict?  These things were GOOD.  Really good.  They were WAY lighter than I expected from the buckwheat, which I expected to weigh them down quite a bit.  Not so.  I intend to keep experimenting with this.  Knowing how light these were, I’m thinking you could probably up the buckwheat to AP ratio more than I thought.  Maybe more like 75/25.  Or I bet 100% buckwheat would work just fine with some further experimenting.  Afterall, Channing’s 100% buckwheat ‘cakes looked pretty damn good.  🙂


1 Comment

It seemed like a good idea at the time…

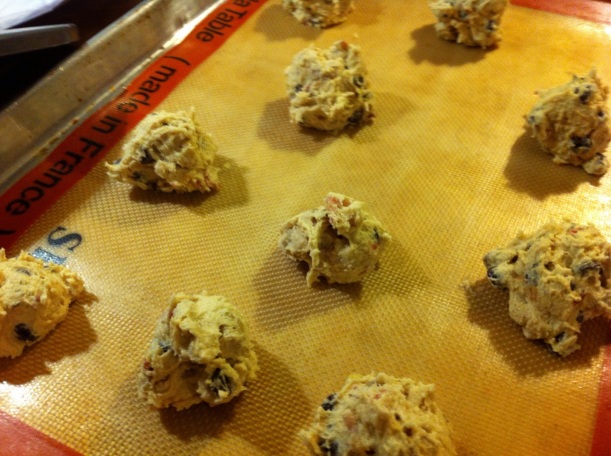
So I had what I thought was my most brilliant idea ever: Bacon Cookies! So I schemed and devised, and came up with a plan for their execution. But just before getting started, I thought I’d Google it. Turns out, it’s a thing. Of course it is. In retrospect, I couldn’t possibly be the first person to have this idea. Whatever.

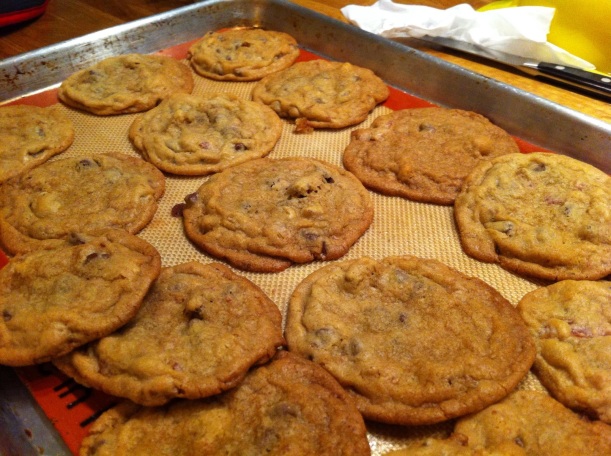
So I perused a few recipes, and settled on this straightforward one I found at NPR. Chocolate Chip-Bacon-Pecan Cookies. I actually used walnuts, but otherwise followed it to the letter.

20120624-220606.jpg

Bacon…

20120624-220651.jpg

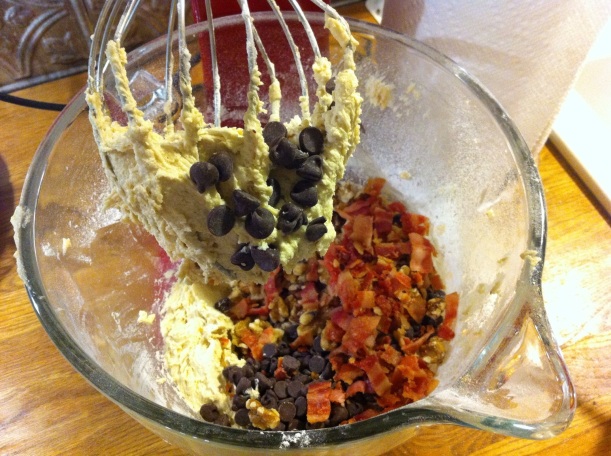
…meet cookie dough!

20120624-220738.jpg

20120624-220857.jpg

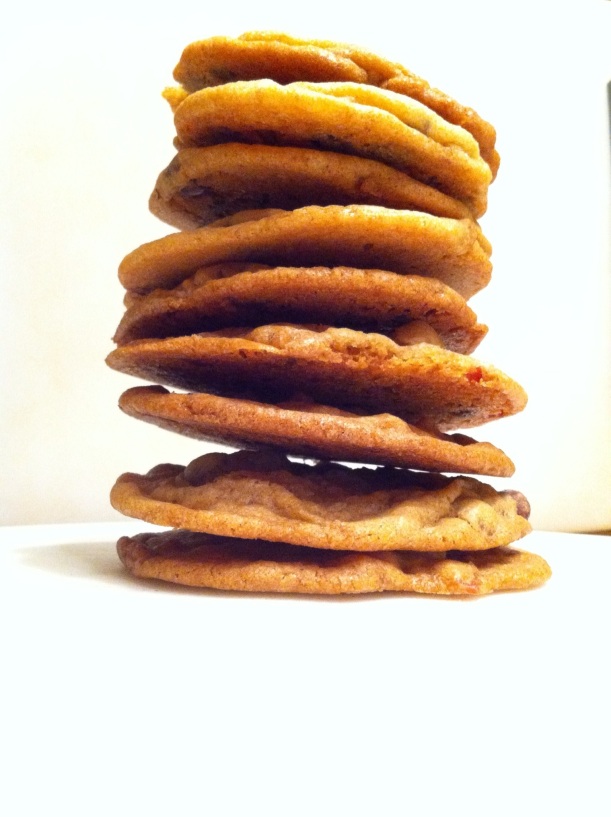
And they taste even better than they look.

20120624-220955.jpg

Turns out it was a very good idea indeed.